BREW GUIDE
BREW WITH KITE.
MAKE EVERY CUP COUNT
A practical starting point for brewing KITE COFFEE at home. Keep the routine consistent, taste with intention, and fine-tune one variable at a time.
01
REST THE COFFEE
GIVE FRESH BEANS A LITTLE TIME.
Freshly roasted coffee is still settling. A short rest lets the cup become clearer and more balanced before you start dialing in.
01
Filter brews
Start with roughly 10–14 days for light-roast filter coffee, then taste. Some lots may improve with more time.
02
Espresso
Begin around 7–10 days, then adjust by taste. If the shot still feels overly gassy or unstable, let it rest longer.
A good checkpoint: the coffee should taste lively and sweet without a distracting roasted-gas character.
03
FILTER BREWING
BUILD A REPEATABLE POUR-OVER.
Pour-over rewards consistency more than complicated gear.
Choose a familiar setup, keep the recipe stable, taste the result, and make one adjustment at a time.
SET UP
01
Dripper
Use the brewer you know well. Consistency of technique matters more than chasing a specific model.
02
Grinder
Prioritize repeatable particle size and a setting you can reproduce from day to day.
03
Filter paper
Choose paper with a flow rate that suits your recipe, then keep the same paper for repeatable results.
04
Extras
A gooseneck kettle, scale, timer, carafe, and clean cups are enough to make the process easy to repeat.
RECIPE
01
15 g in → 225 g
Coffee dose → Water — Begin around a 1:15–1:17 coffee-to-water ratio and adjust according to taste.
02
90–93 °C
Water temperature — Use hotter water for denser, cleaner lots and slightly lower the temperature when the coffee feels too intense.
03
2:30–3:30
Brew time — Treat time as a guide rather than a rule. Taste the cup before making changes.
03
3–5 pours
Pours — Start with a small number of controlled pours. Keep agitation deliberate.
( CLICK TO SHOW STEPS )
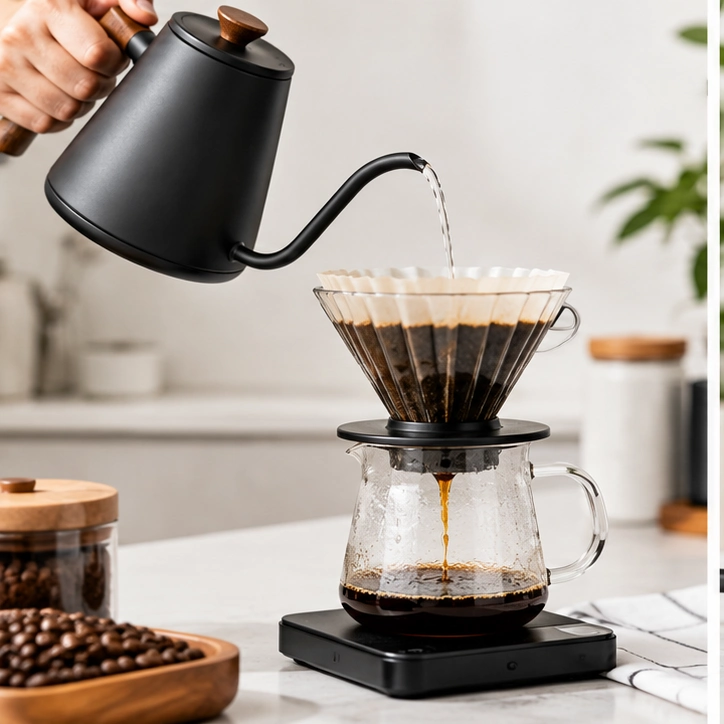
POUR OVER
Clean, expressive, and versatile. A reliable starting point for exploring the character of each coffee.
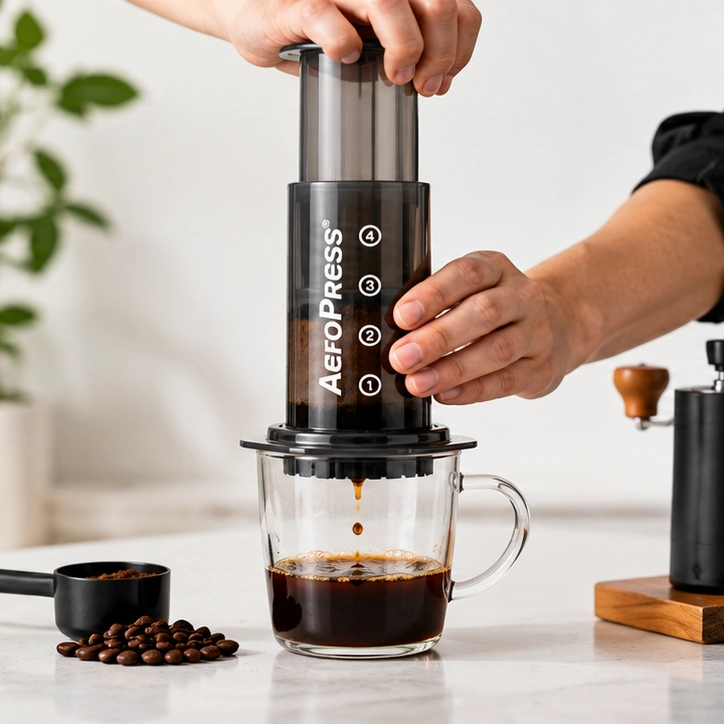
AEROPRESS
Fast, flexible, and forgiving. This method can produce a clean, balanced cup with a compact workflow.
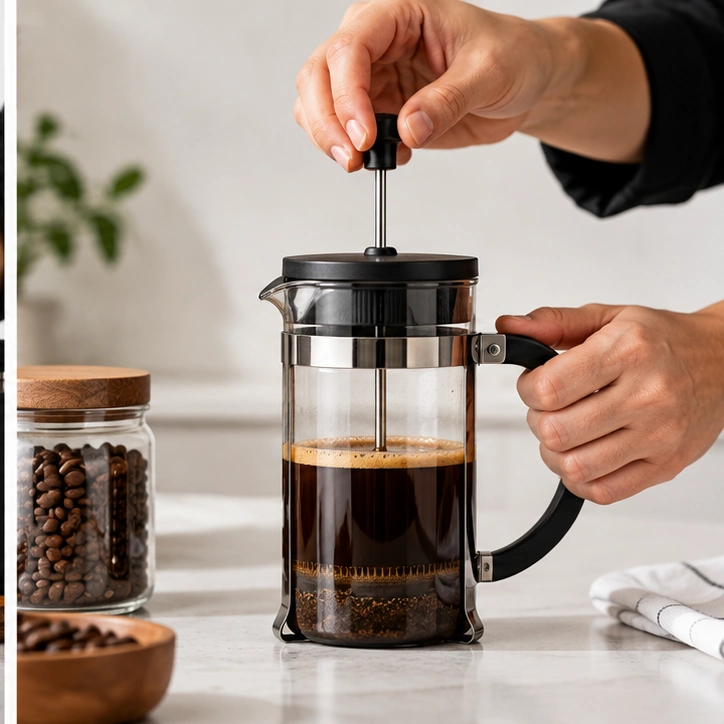
IMMERSE
Simple and consistent. Full immersion gives the coffee more contact time with water and a rounded, forgiving profile.
04
ESPRESSO EXTRACTION
DIAL IN FOR SWEETNESS AND BALANCE.
Espresso is less forgiving than filter, but the method can stay simple: prepare an even puck, control the flow, taste the shot, and adjust the grind gradually.
SET UP
01
Machine
Choose a machine that produces a stable, clean extraction. Temperature consistency is more useful than brand prestige.
02
Grinder
Use a grinder capable of producing a fine, even espresso particle distribution and repeatable adjustments.
03
Scale
A compact scale with a timer makes dose, yield, and shot time easier to reproduce.
04
Tamping
Distribute evenly, tamp level, and keep the workflow consistent before locking in.
RECIPE
Use these recipes as reference points when dialing in espresso. Keep your dose and yield stable while you adjust grind size gradually.
01
20 g in → 40 g out
Start with a 1:2 brew ratio to establish a clear reference point.
02
25–35 seconds
Use shot time alongside taste. If the flow is too fast, a finer grind is usually the first adjustment.
03
Taste first, then adjust
If the shot tastes sharp, sour, thin, or hollow, increase extraction gradually by adjusting grind finer or extending contact time.
UNDER EXTRACTION
A fast or weak extraction can leave the cup sharp, thin, or hollow.
PERFECT EXTRACTION
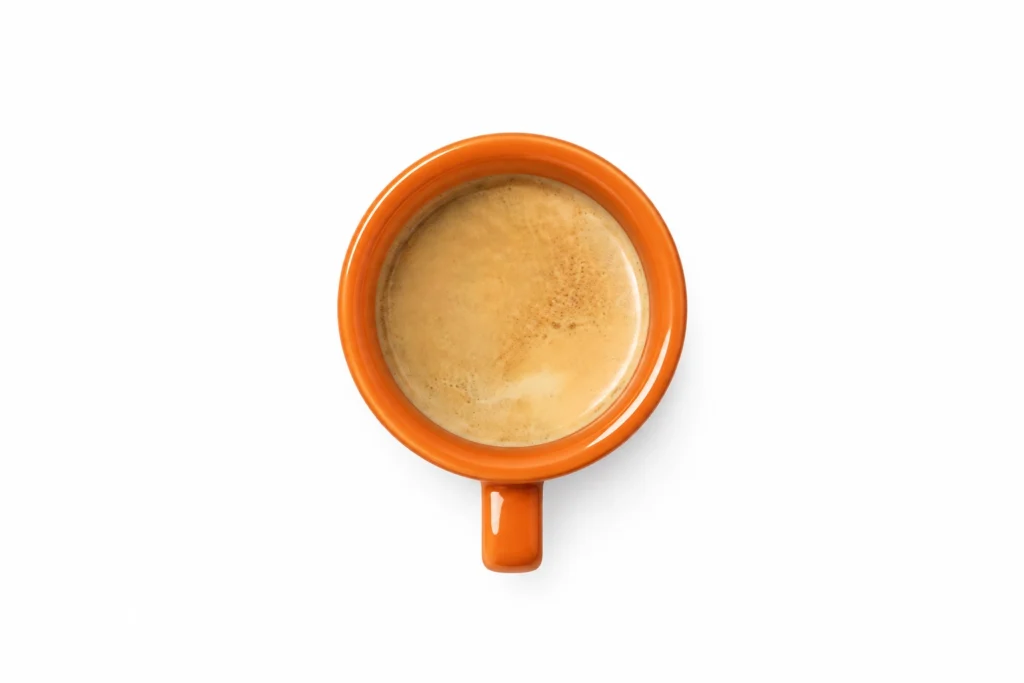
A balanced extraction should combine sweetness, clarity, body, and a clean finish.
OVER EXTRACTION
When too much soluble material is extracted, the cup can become bitter, dry, or overly heavy.
Dial-in sequence
- Dose, distribute, and tamp until the puck is level and compact.
- Start the extraction and watch the flow. If it races through the puck, move finer; if it barely flows, move coarser.
- Taste before making another change. Keep the dose and yield stable while you adjust the grind.
Taste check: sharp and hollow often points to insufficient extraction; bitter and drying often suggests too much. Make small grind changes and repeat.
Dial-in principle: treat the numbers as a starting point. Taste the espresso first, then change one variable at a time.
05
TASTE & ADJUST
LET THE CUP TELL YOU WHAT TO CHANGE.
A brew guide is a starting map, not a rigid formula. Use the flavor in the cup to decide whether the next move should be finer, coarser, hotter, cooler, more agitation, or less.
01
Tart / hollow
Try a slightly finer grind or a touch more extraction before changing the whole recipe.
02
Dry / bitter
Try a slightly coarser grind or reduce extraction intensity.
03
Sweet / clear
Note the recipe and grind setting. This is the profile worth repeating.
04
Flat / muted
Re-check freshness, storage, and whether the brew is extracting enough character from the coffee.